
Quick Start
Install RustFS with the one-click script, log in to the Console, and store your first object — in about ten minutes.
This guide takes you from an empty Linux server to a working RustFS instance: install, log in to the Console, create a bucket, and upload your first object. Production planning (multi-node layout, hardware sizing) is deliberately left for the next step.
Prerequisites
- A Linux server (x86_64 or aarch64) with
systemd, and root or sudo access unzipinstalled, and outbound network access to download the package- Ports
9000(S3 API) and9001(Console) reachable from your machine
Install and start RustFS
Run the official installation script:
curl -O https://rustfs.com/install_rustfs.sh && bash install_rustfs.shThe script installs the binary to /usr/local/bin/rustfs, registers a rustfs systemd service, and starts it. By default it stores data in /data/rustfs0 and listens on port 9000 (S3 API) and 9001 (Console); the data path and ports can be adjusted during installation. On success it prints a summary like:
RustFS has been installed and started successfully!
Service port: 9000,  Console port: 9001,  Data directory: /data/rustfs0

[SECURITY WARNING] Please change the default value for RUSTFS_ACCESS_KEY/RUSTFS_SECRET_KEY immediately ...
  Config file: /etc/default/rustfs
Set your credentials
The generated config file ships placeholder credentials. Set your own access key and secret key, then restart the service:
RUSTFS_ACCESS_KEY=<your-access-key>
RUSTFS_SECRET_KEY=<your-secret-key>   ; e.g. output of: openssl rand -base64 24
sudo systemctl restart rustfs
sudo systemctl status rustfs --no-pager # should report: active (running)Do not keep default credentials
If RUSTFS_ACCESS_KEY / RUSTFS_SECRET_KEY are not set, the server falls back to the built-in default rustfsadmin / rustfsadmin — acceptable for a throwaway local test, never for anything reachable by others.
Log in to the Console
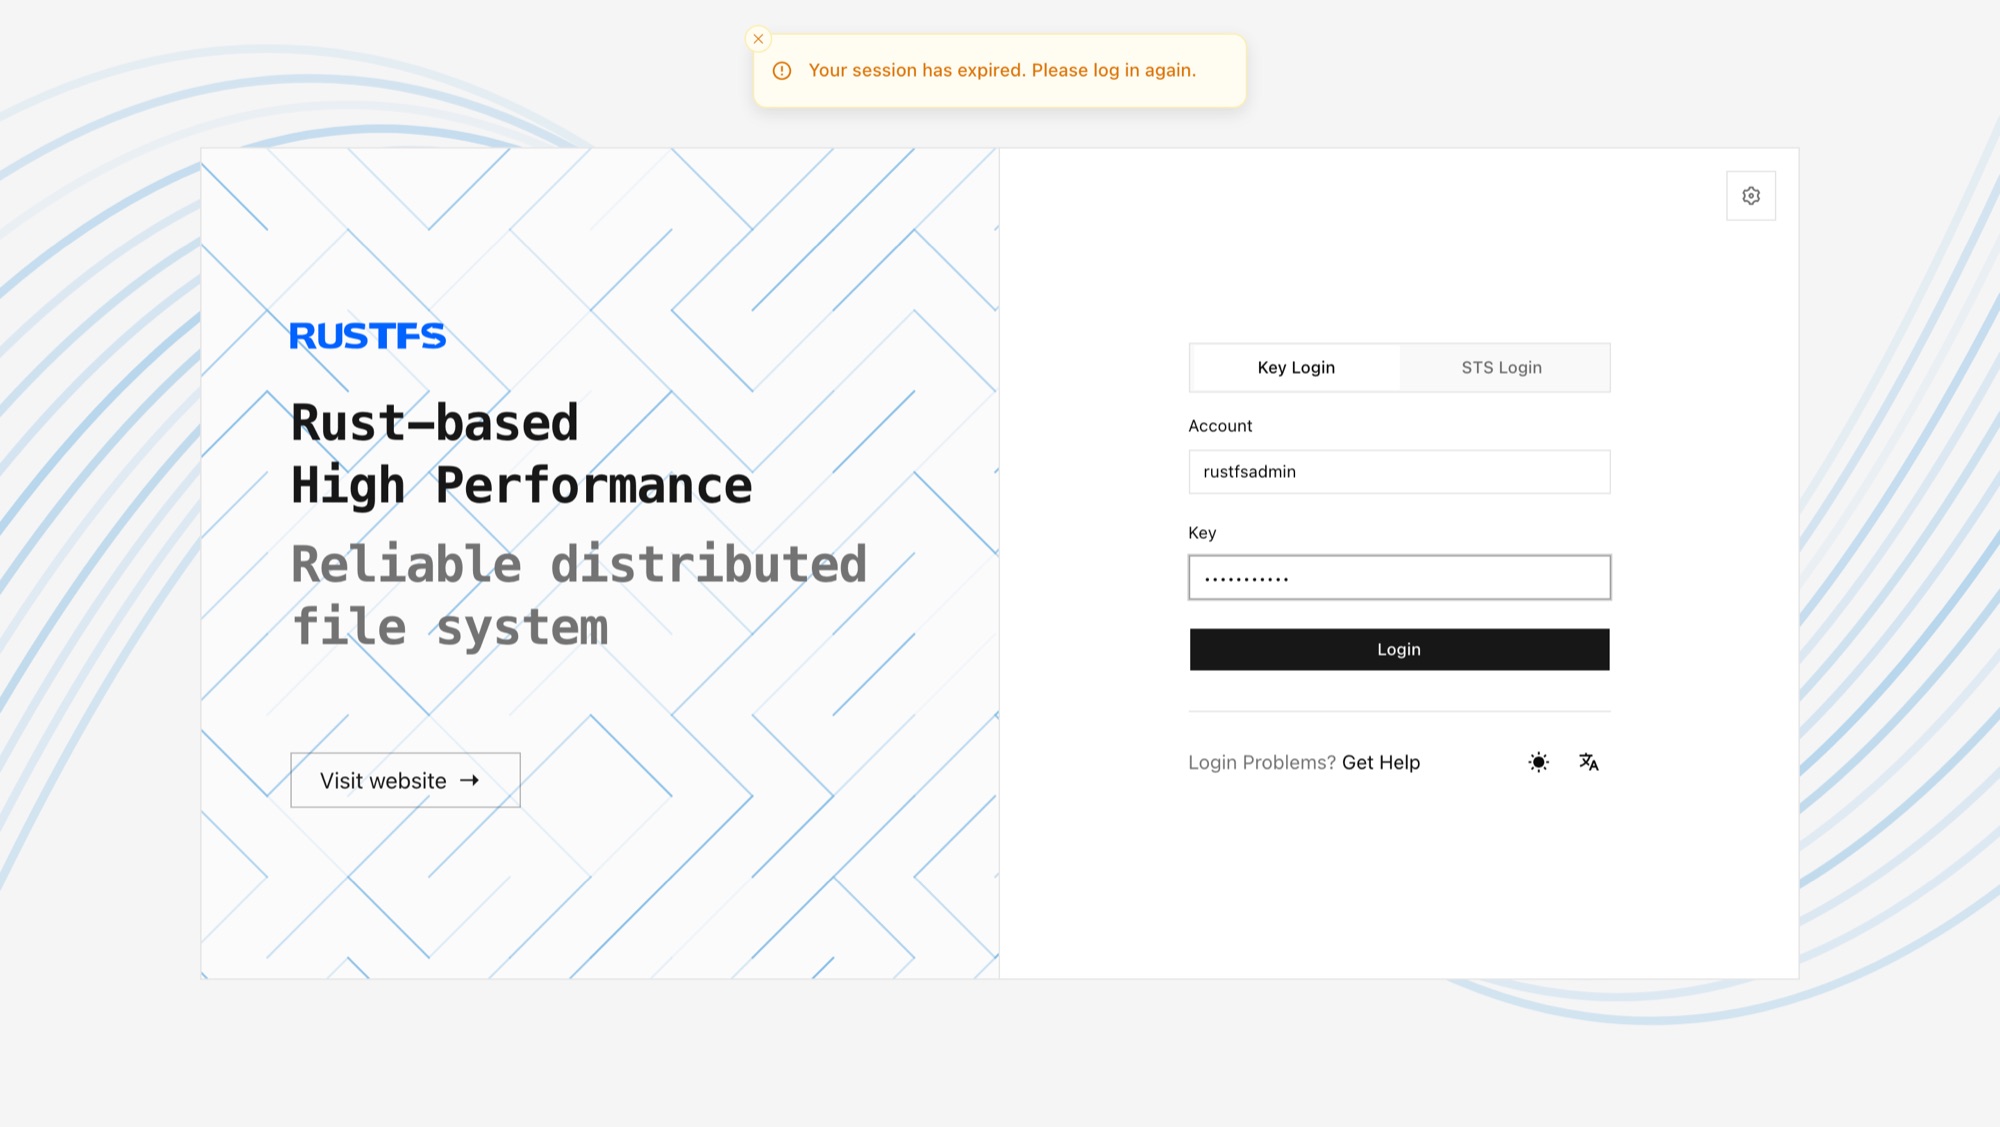
Open http://<server-ip>:9001 in your browser and sign in with the access key and secret key from step 2.
Create a bucket and upload a file
- In the Console home page, select Create Bucket, name it (for example
my-bucket), and confirm. - Open the bucket and use the upload action to add any local file.
- Click the uploaded object to view its details — you have a working object store.
Prefer the command line? The same two operations with the MinIO Client (mc):
mc alias set rustfs http://<server-ip>:9000 <your-access-key> <your-secret-key>
mc mb rustfs/my-bucket
mc cp ./hello.txt rustfs/my-bucket
mc ls rustfs/my-bucket
Bucket created successfully `rustfs/my-bucket`.
[2026-07-15 10:00:00 UTC] 12B hello.txtNext steps
The quick install runs RustFS in Single Node Single Disk (SNSD) mode — zero redundancy, right for evaluation and development. Where to go from here:
- Plan a production deployment — choose a topology, then follow its guide:
- Single Node Single Disk (SNSD) — dev and small workloads
- Single Node Multiple Disk (SNMD) — disk-level fault tolerance on one machine
- Multiple Node Multiple Disk (MNMD) — production-grade availability and scale, with the pre-installation checklists
- Prefer containers? — Install with Docker
- Connect your application — SDKs and examples